 Do you love complicated recipes at the end of a workday? Nope, I didn’t think so. I had picked up some bone-in chicken breasts on a recent sale, and thought that would be a nice simple thing to throw on the grill for a midweek supper. I hopped online to try to quickly get an idea of cooking times, but the online recipes for grilled bone-in chicken breasts seemed to make it a complicated process.
Why complicate a simple meal? Well, there is the matter of getting the chicken cooked through, but not too much. And if you want to play the grilling superstar, you probably want those breasts looking golden brown and crispy on the outside. Read on to cook up these Simply Scrumptious Grilled Chicken Breasts with Garlic Basil Butter. Since originally posting this recipe, we have added the details in recipe card format at the bottom of the post if you find that format easier to follow.
If you are looking to grill boneless chicken, try these Juicy Grilled Chicken Breasts.
 Fear not. It doesn’t need to be that hard. Bone-in chicken breasts are forgiving, a few minutes past optimal timing is OK. I perused, several recipes, found this one to be a good launching off point, and got the process and timing simplified for you.
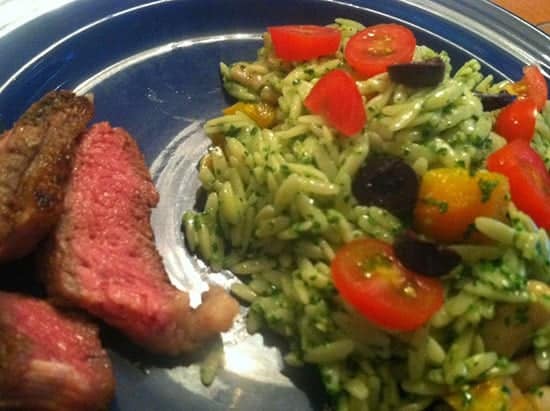
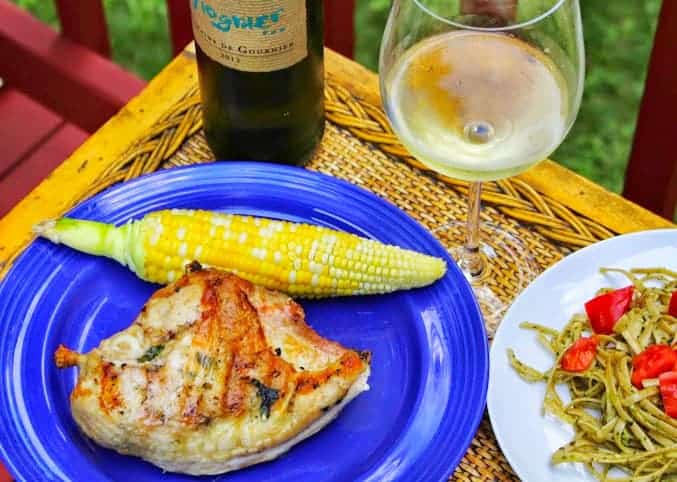
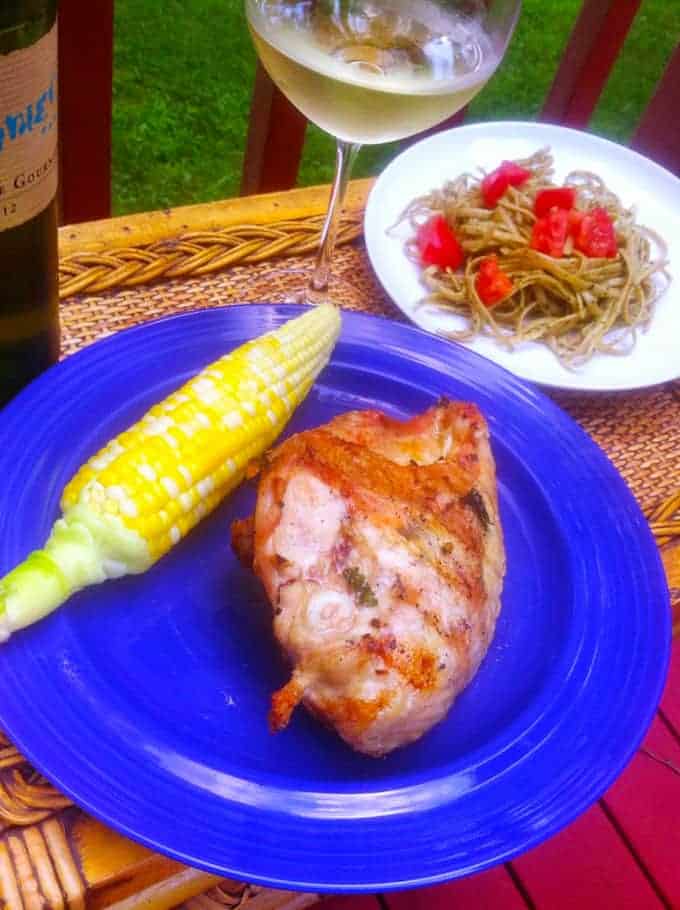
A barbecue sauce might be your first instinct grilling chicken, but my simple Garlic Basil Butter takes about 5 minutes to whip up, and helps that chicken stay nice and moist as you grill it. Plus it adds enough flavor to make this chicken nice and savory. Scrumptious, you might say! I had a bottle of BBQ sauce on the table, thinking the chicken might need a bit more flavor, but that went unopened. Along with some tasty corn and side of pasta, this grilled chicken had plenty of flavor for a scrumptious yet simple weeknight meal.
 For the butter
3 tbsp butter (I used non-dairy, see note)
2 cloves garlic, minced
6 to 8 basil leaves, sliced into thin julienned strips
pinch of salt
squeeze of lemon juice (optional)
***
2 bone-in, skin-on chicken breasts
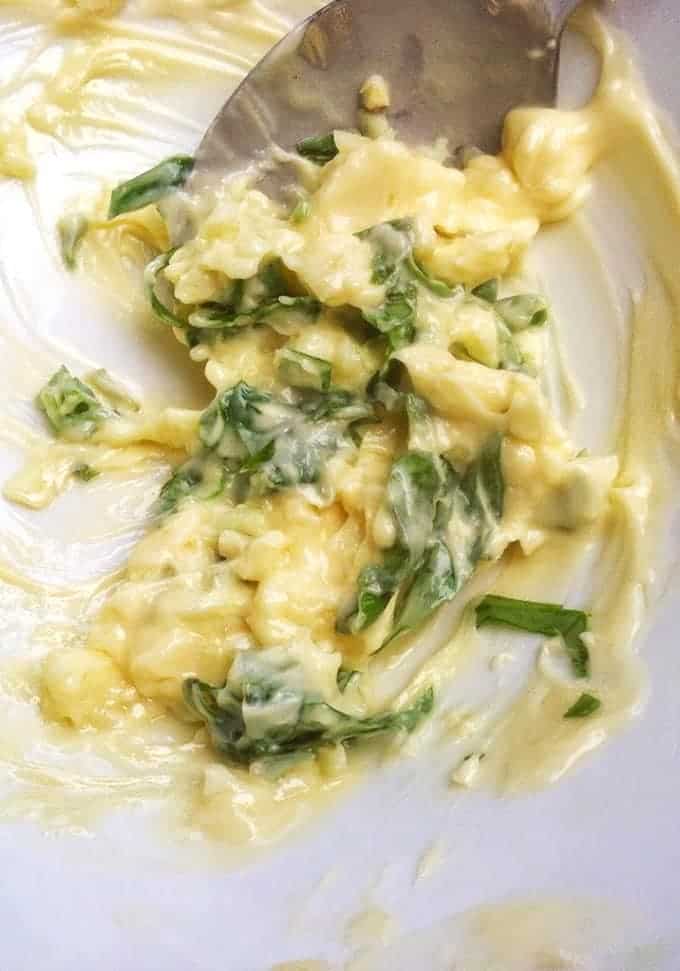
Make the butter: Leave the butter out of fridge for 30 minutes, or microwave for 10 seconds to get it soft enough to work with. Add the garlic and basil, stir in vigorously to get it well incorporated into the butter. Stir in a generous pinch of salt. If you have lemon on hand, you might try squeezing in a teaspoon or two of juice. I didn’t have any to add, but I bet it would further enhance the flavor.
Prep the chicken: Rinse and pat dry the chicken breasts. Gently pull back the skin just enough so you can slip your fingers in between the skin and the breast meat. Grab a dollop of the butter, and work it under the skin. Gently rub it onto the breast meat. Try to get about halfway down the breast with your fingers. This is enough to spread the flavor without making the skin too loose. Grab another dollop of the butter and rub that over the outside of the skin, forming a thin coating of butter all over the breast. Repeat the process with the butter on the other chicken breast.
Grill the chicken: Here’s the part a lot of other recipes seem to make complicated. Let’s try to keep it simple. I’ll explain what I did using my gas grill, you can do a similar process with charcoal by just filling half of it with the coals.
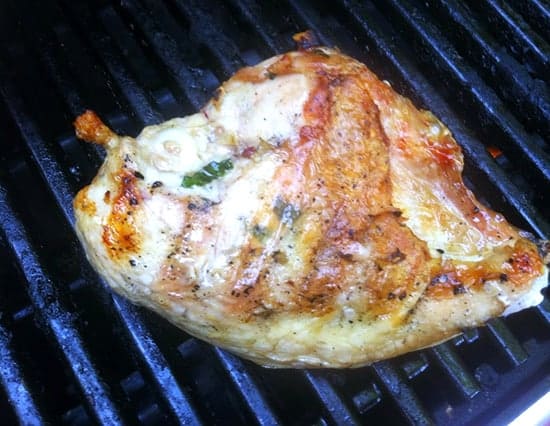
Pre-heat the grill to about 400. Turn off the back burner(s) so that you have an area available for indirect heat cooking. Place the chicken on direct heat for 5 minutes, then turn the chicken over to grill on direct heat for another 5 minutes. Using your tongs, carefully move the chicken and place it breast meat side down on the back of the grill. Cook on indirect heat with the grill covered for 15 to 20 minutes. Check the chicken for doneness (chicken should reach an internal temperature of 165 degrees), taking care not to overcook.
Our chicken was a nice golden brown at the end of the indirect cooking time. But if you want a bit more coloring for crisper skins or presentation purposes, place the chicken meat side down on the direct heat for another minute or two.
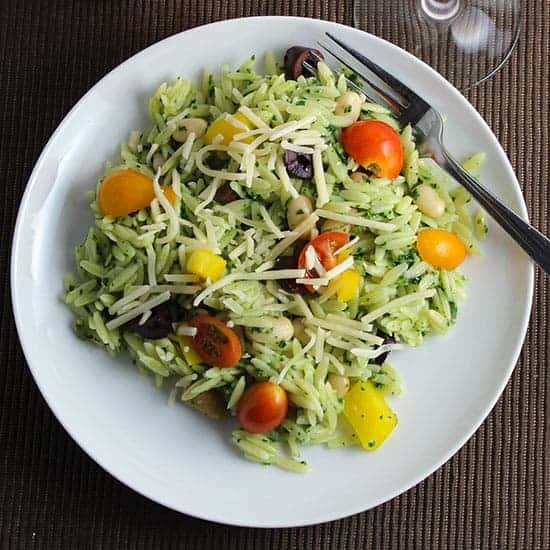
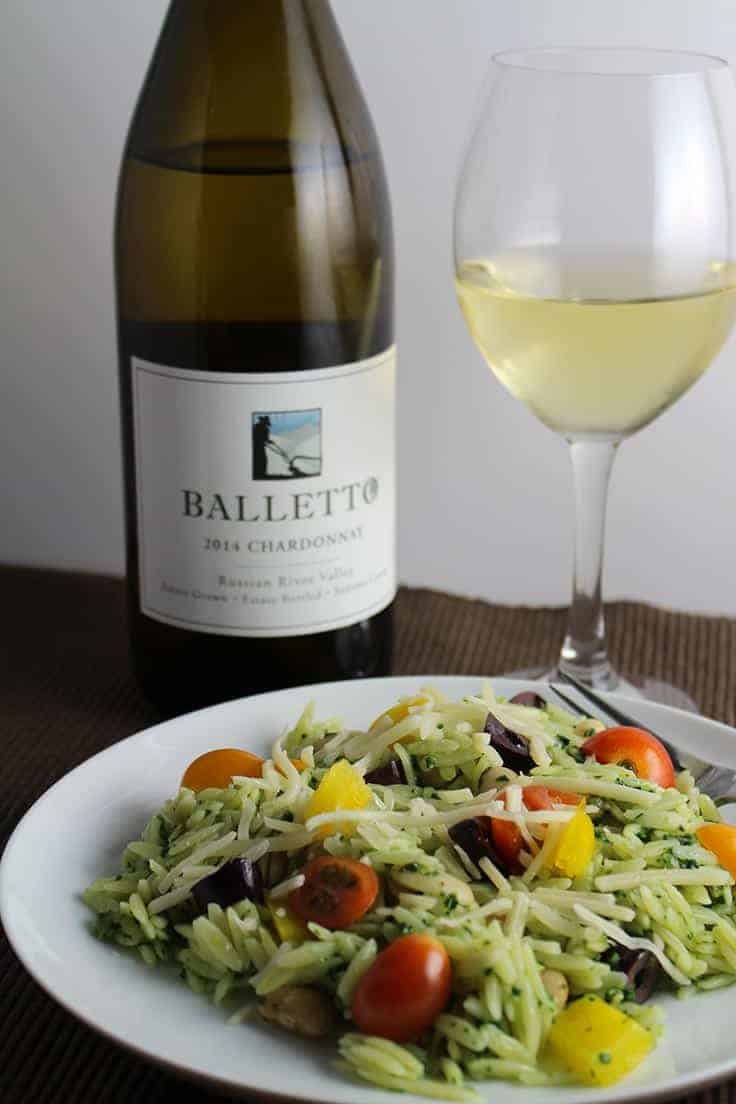
Sides and Wine: Some good local corn on the cob went nicely with this dish. We also had some pasta with pesto on hand from this other recent Cooking Chat project. If I was focused mostly on the grilled chicken, I might have opted for a rose or Chardonnay. To go with the lively flavors of the pesto and corn, as well as the grilled chicken, I served it with a Viogner and was pleased with that pairing.
Note: I typically use Earth Balance Natural Butter Spread when cooking, as our son is allergic to dairy among other things. It’s softer to start with, making it easier to cook with. Along with being lower in saturated fat, it tastes great, too!
PrintSimply Scrumptious Grilled Chicken Breasts with Garlic Basil Butter

Garlic basil butter helps deliver a juicy and flavorful bone-in chicken breast.
- Prep Time: 15 mins
- Cook Time: 30 mins
- Total Time: 45 mins
- Yield: 3 servings
- Category: Main
- Cuisine: American
Ingredients
- 3 tbsp butter (I used non-dairy, see note)
- 2 cloves garlic, minced
- 6 to 8 basil leaves, sliced into thin julienned strips
- pinch of salt
- 1 tablespoon fresh lemon juice (optional)
- 2 bone-in, skin-on chicken breasts
Instructions
- Make the butter: Leave the butter out of fridge for 30 minutes, or microwave for 10 seconds to get it soft enough to work with.
- Add the garlic and basil, stir in vigorously to get it well incorporated into the butter. Stir in a generous pinch of salt and optional lemon juice.
- Prep the chicken: Rinse and pat dry the chicken breasts. Gently pull back the skin just enough so you can slip your fingers in between the skin and the breast meat. Grab a dollop of the butter, and work it under the skin. Gently rub it onto the breast meat. Try to get about halfway down the breast with your fingers. This is enough to spread the flavor without making the skin too loose.
- Grab another dollop of the butter and rub that over the outside of the skin, forming a thin coating of butter all over the breast. Repeat the process with the butter on the other chicken breast.
- Grill the chicken: Pre-heat the grill to about 400. Turn off the back burner(s) so that you have an area available for indirect heat cooking. Place the chicken on direct heat for 5 minutes, then turn the chicken over to grill on direct heat for another 5 minutes. Using your tongs, carefully move the chicken and place it breast meat side down on the back of the grill.
- Cook on indirect heat with the grill covered for 15 to 20 minutes. Check the chicken for doneness (chicken should reach an internal temperature of 165 degrees), taking care not to overcook. When done, the chicken should be safely cooked through but still nice and juicy, with golden brown skin.

The post Simply Scrumptious Grilled Chicken Breasts with Garlic Basil Butter appeared first on Cooking Chat.